January 20, 2020
How To Deploy Google Cloud Functions from CircleCI
Google Cloud Functions are a great tool for running code remotely and not worrying about managing servers. They are a great place to deploy a simple API, or script that’s triggered by a HTTP event.
In the spirit of deploying everything automatically, here’s how to deploy Google Cloud Functions with CircleCI. At the end of this tutorial, when you merge or push to master, CircleCI will automatically deploy the latest version of your code to production.
Create A Service Account and Keys
To set up automated deployment with CircleCI, we first need to create a service account. This is basically a public/private key-pair that will allow CircleCI to login and perform actions on your Google Cloud project; in this case, we’re restricting the actions to Cloud Functions.
First, login to your console at console.cloud.google.com and visit the Service Accounts section under IAM & admin in the sidebar.
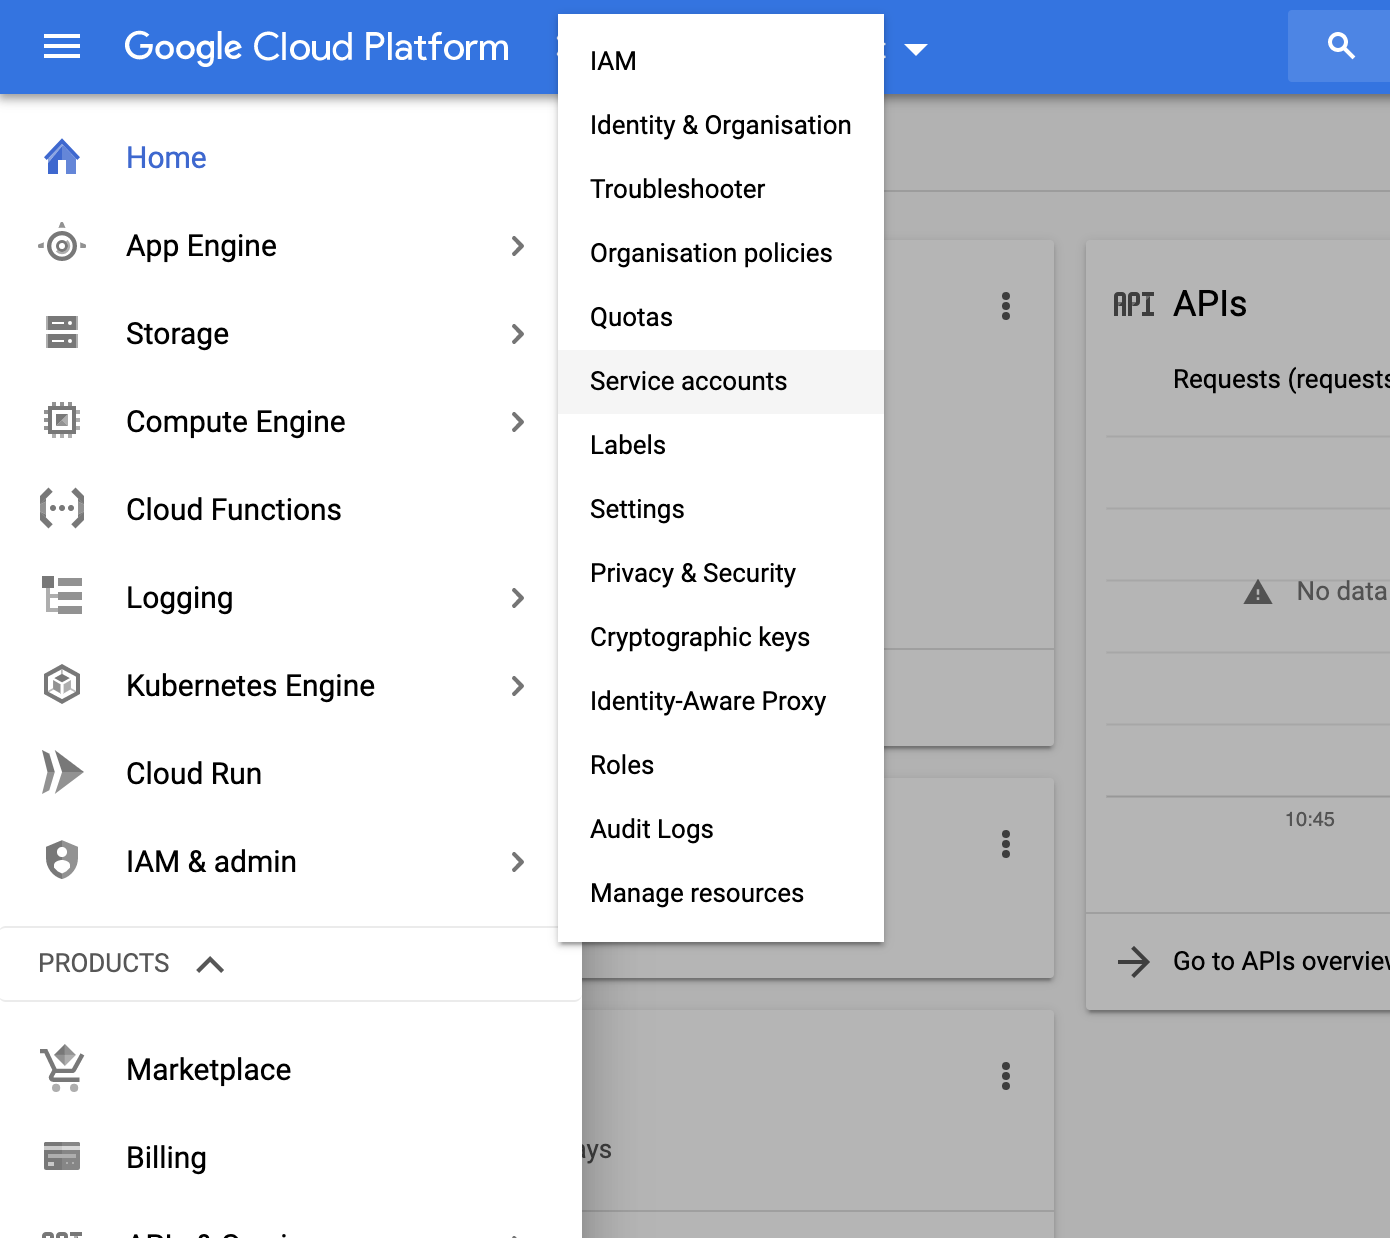
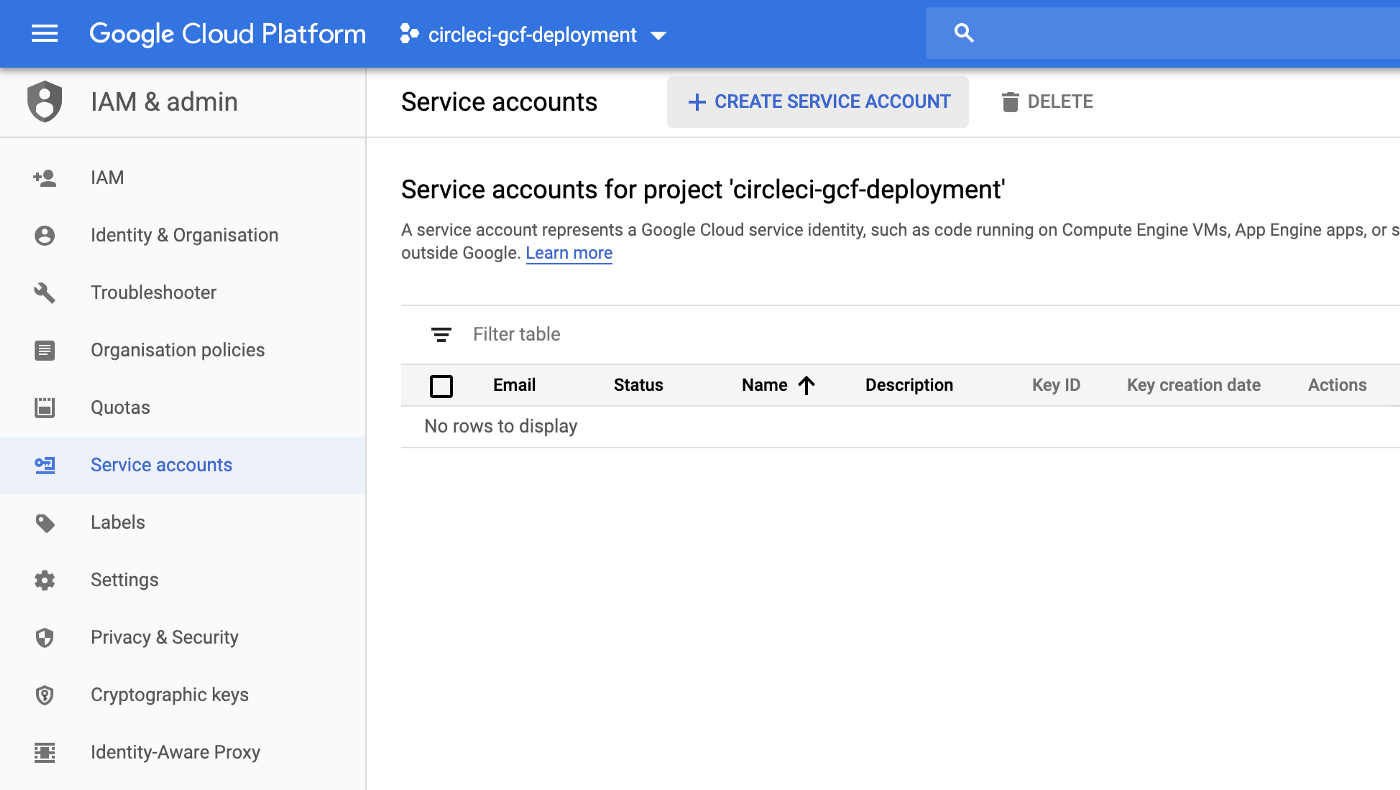
Next, click the “Create Service Account” button at the top of the console to create a new service account for CircleCI.
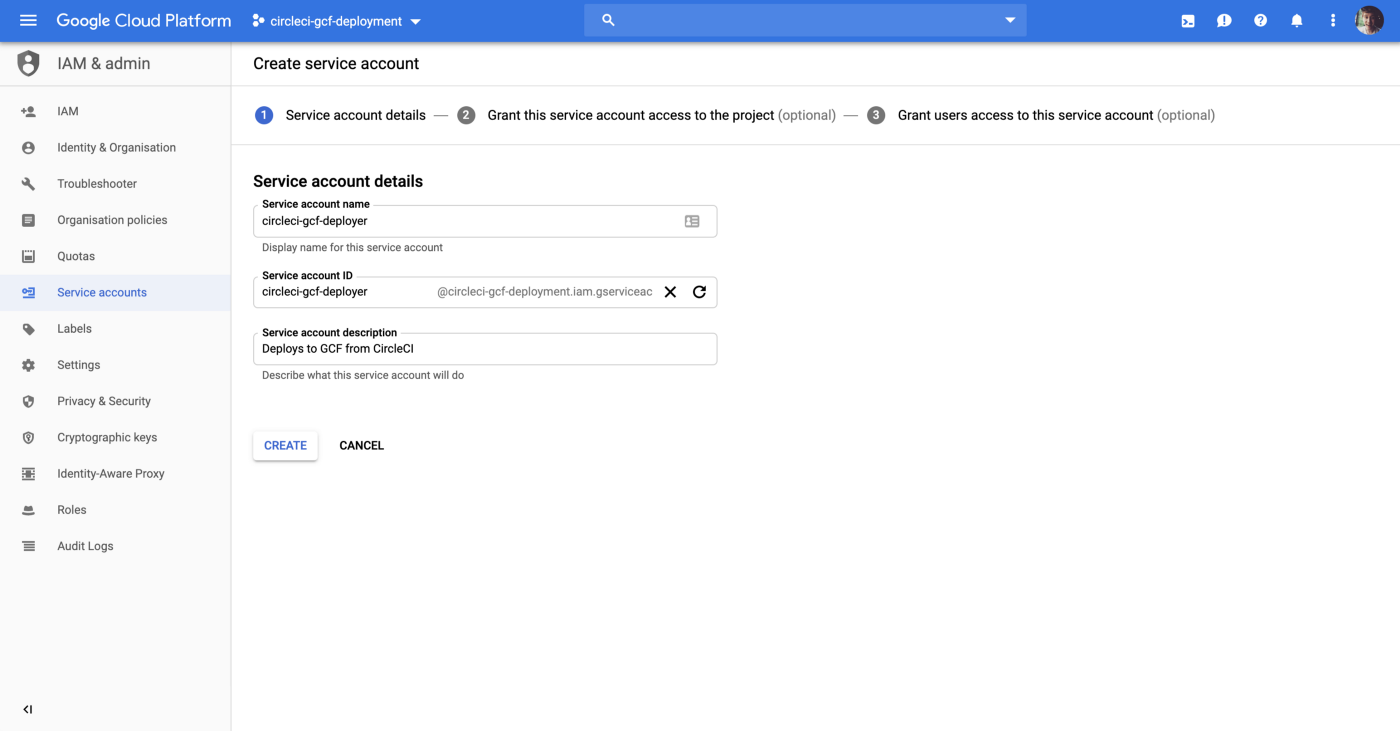
You’ll be taken to the service account wizard. Give the account a name (it’s based on email, so something like circleci-gcf-deployer will work just fine). The account ID will be chosen automatically. Also write a description so you know what this account does when you review it a few months from now.
Once that’s done, click the “Create” button.
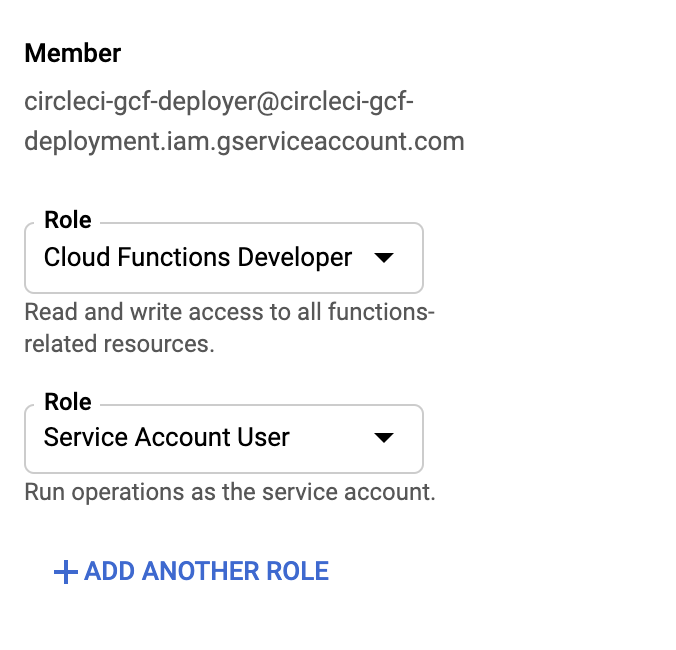
Next, we assign the account the “Cloud Functions Developer” and the “Service Account User” roles, which will allow it to write to cloud-functions resources (deploy).
Once selected, click the Done button at the bottom of the screen to move to the next step.
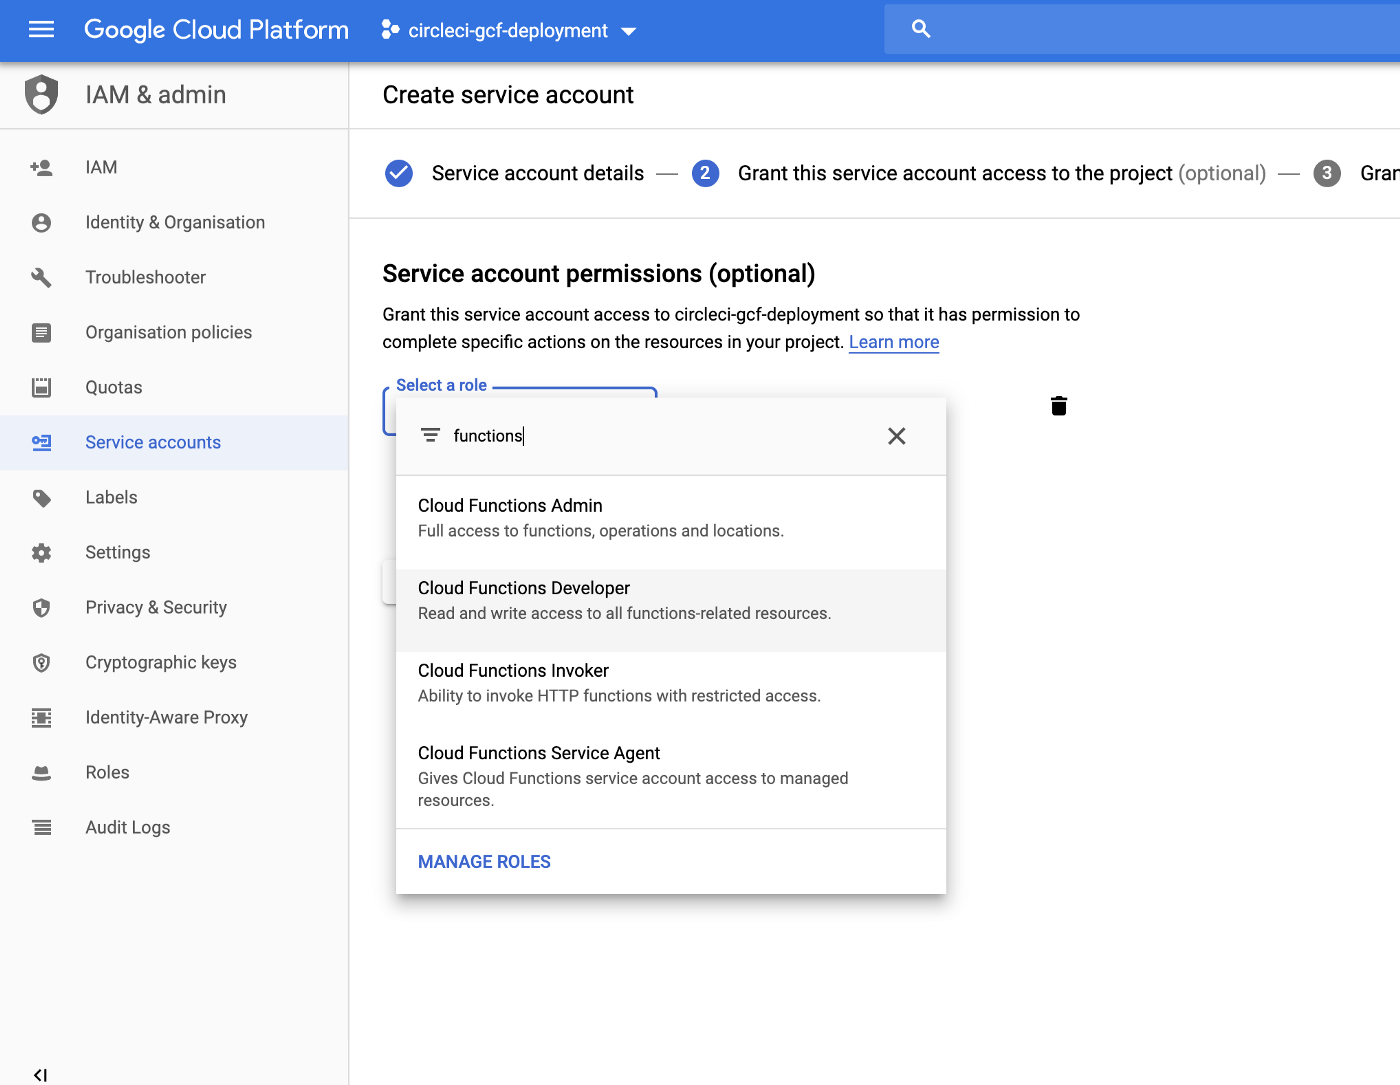
Assign the “Cloud Functions Developer” and “Service Account User” roles, so the service account can perform deployment actions.
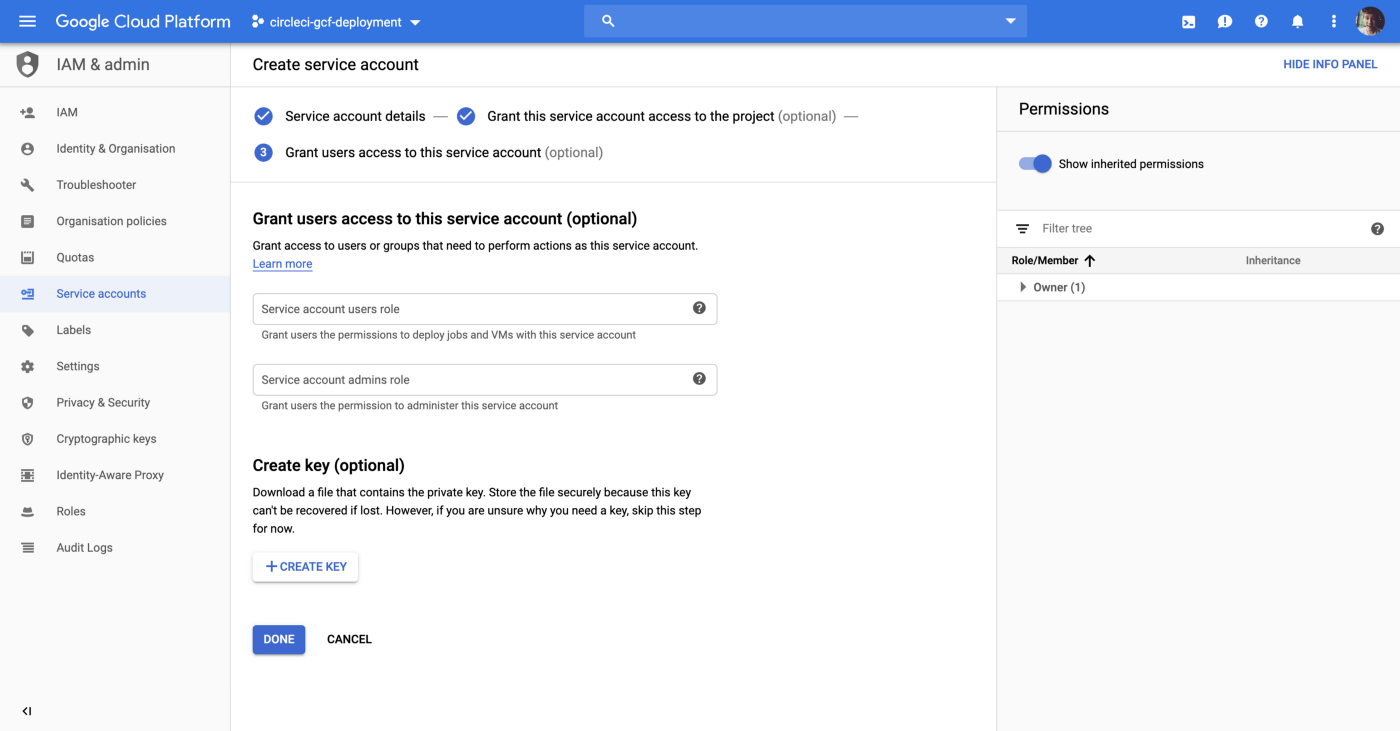
Next, we need to generate a public/private key pair to let CircleCI access the account. Click the create key button to bring up the key dialog.
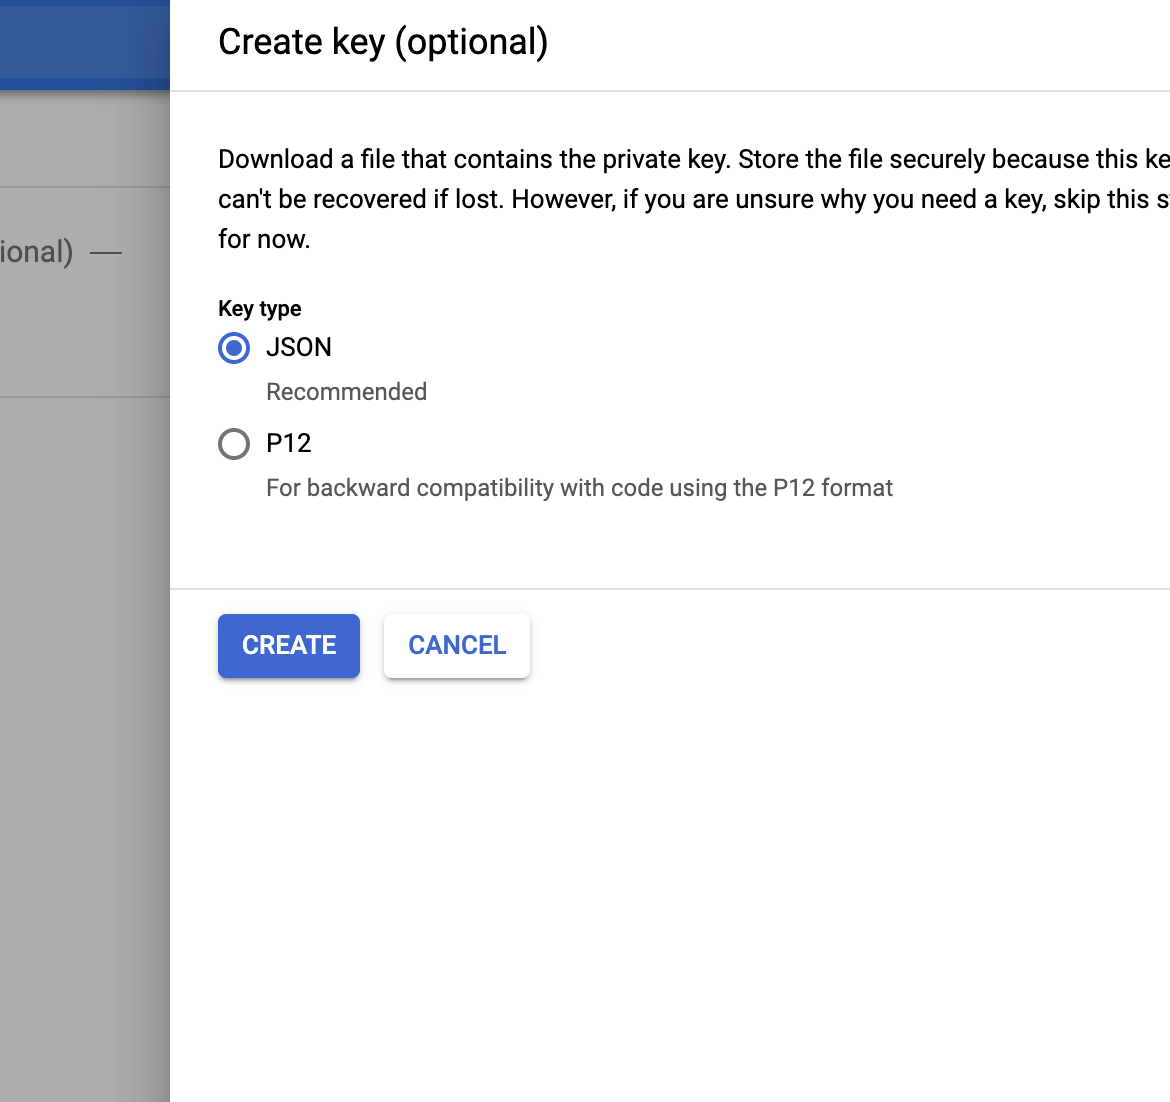
Use the default selection of JSON, and click the create button. The private key will be downloaded to your local computer — do not share it; anyone who has access can perform those scopes that you selected in the previous screen (read/write cloud functions).
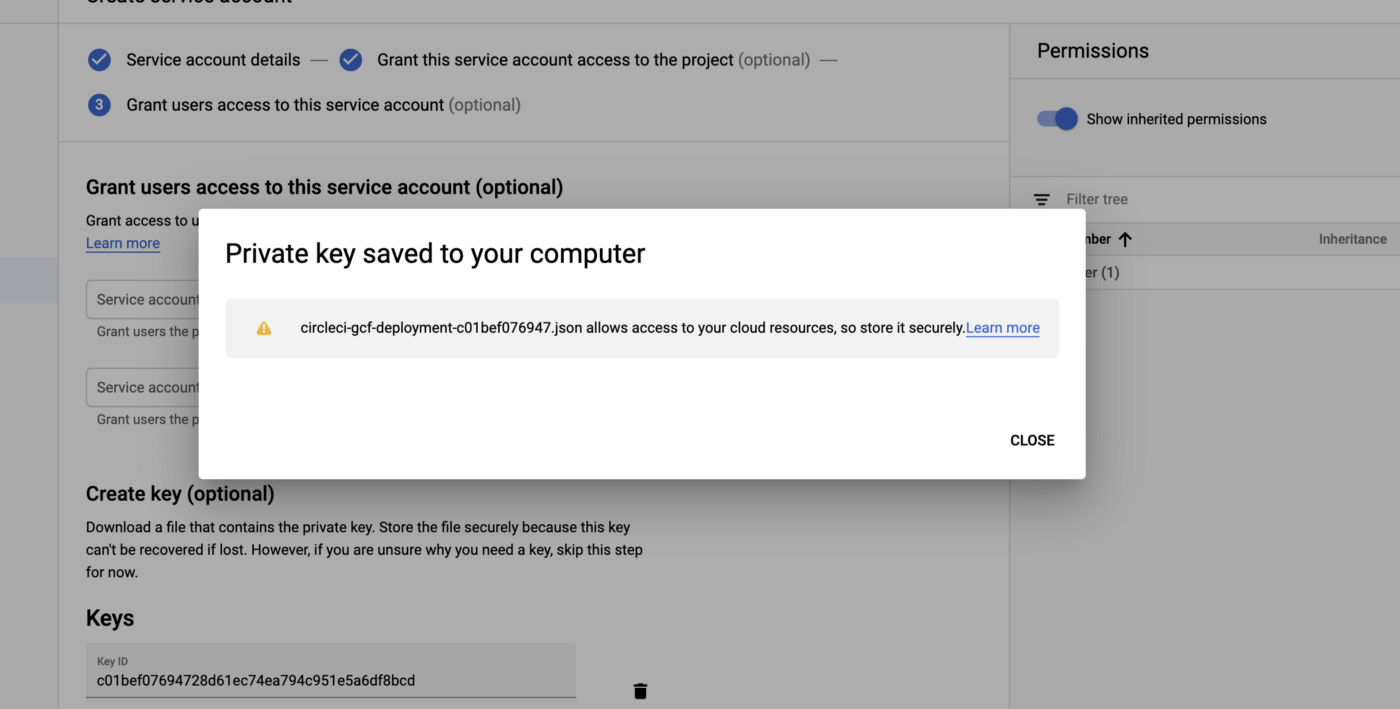
Make note of the name of the key file, and where it was saved on your machine — we will come back to it in just a moment.
Close the dialog and click the Done button to complete the process.
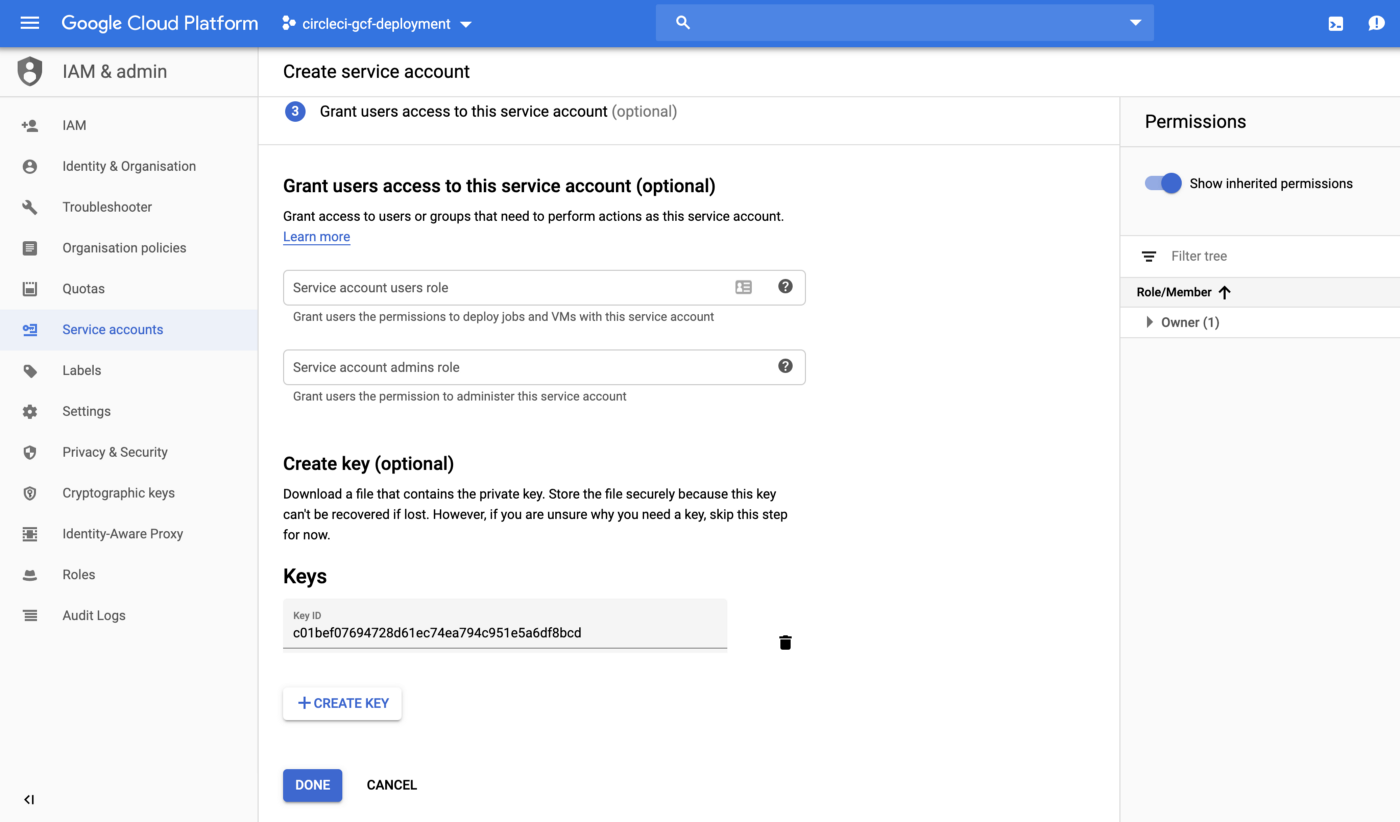
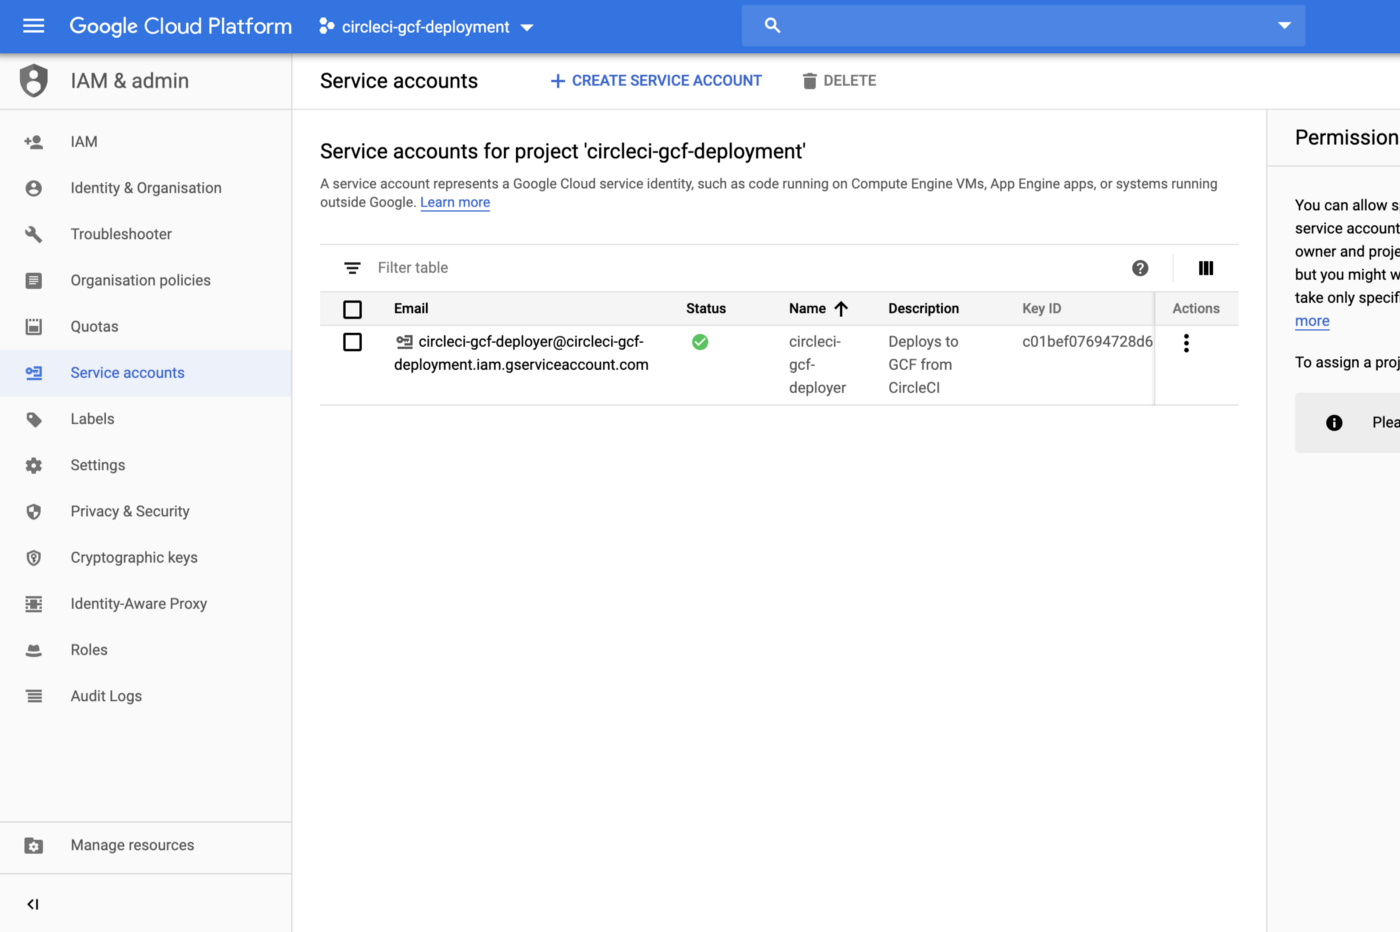
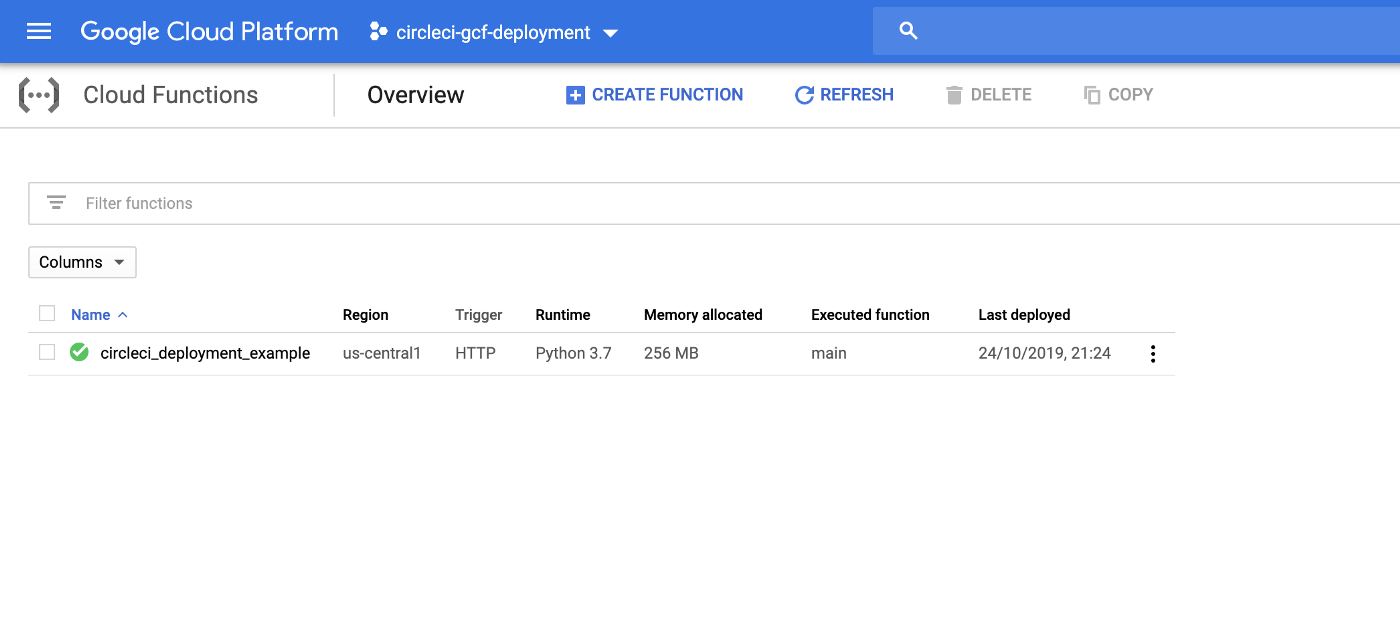
If all went successfully you should see a screen looking something like this. You’ve successfully created a service account and an associated key — congrats!
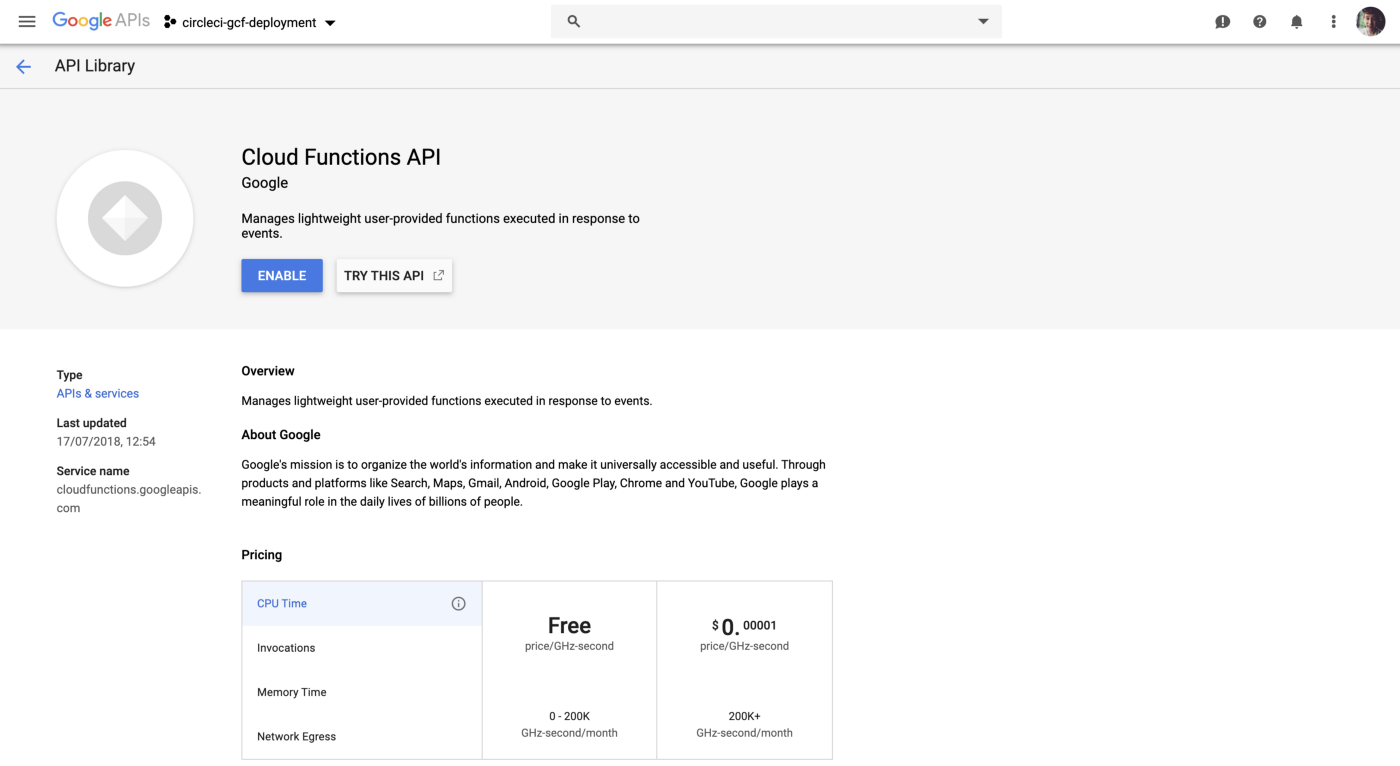
Enable The Cloud Functions API
If it’s not already enabled, you’ll need to enable the Cloud Functions API by visiting the Google Developer Console and clicking enable.
Create the CircleCI Project and Add Environment Variables
Now that we’ve got our private key, we need to create a CircleCI project. First, create a src directory and put everything needed to run the cloud function inside of it (scripts and requirements files). See here for a python example.
Next, create a .circleci directory, and place a config.yml file in it.
version: 2
jobs:
  deploy:
    docker:
      - image: google/cloud-sdk
    steps:
      - checkout
      - run:
          name: Authorize GCloud Command Line Tool
          command: |
            echo $GCLOUD_SERVICE_KEY | base64 --decode | gcloud auth activate-service-account --key-file=-
      - run:
          name: Deploy To Google Cloud Functions
          command: |
            # Variables
            FUNCTION_NAME=circleci_deployment_example
            ENTRYPOINT=main
            GCP_PROJECT=circleci-gcf-deployment
            # Deploy command
            gcloud functions deploy $FUNCTION_NAME \
              --entry-point $ENTRYPOINT \
              --runtime python37 \
              --trigger-http \
              --source ./src/ \
              --project $GCP_PROJECT
workflows:
  version: 2
  build-test-and-deploy:
    jobs:
      - deploy:
          filters:
            branches:
              only:
                - master
When all is said and done, your repository should look something like this.
Next, we’ll navigate to CircleCI and set up the project before we push our code changes.
Setting Up The CircleCI Project
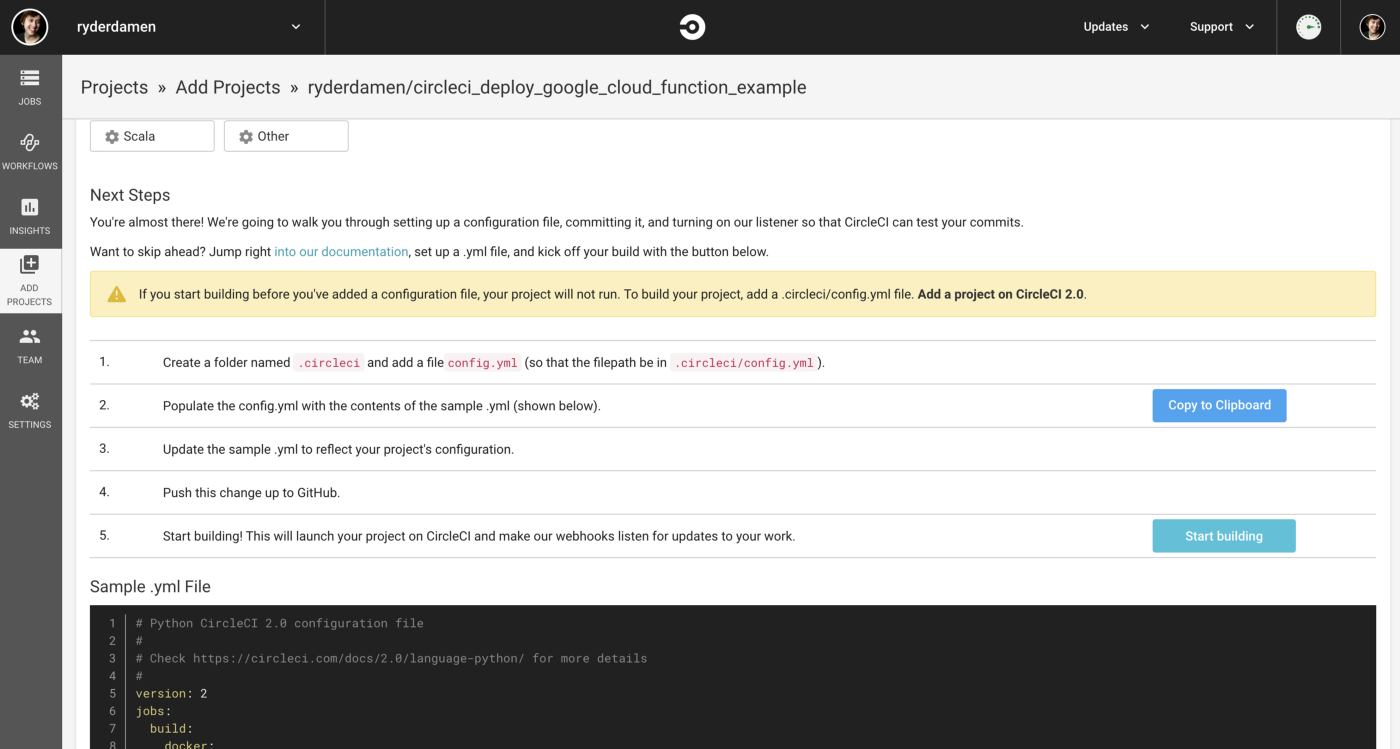
If the project has yet to be set up on CircleCI we will need to do that. Visit the CircleCI Dashboard and click “ADD PROJECTS”. Choose your project from the list and click the setup button.

Click the “Start building” button to connect your GitHub repository to CircleCI. The first build will start (and fail).
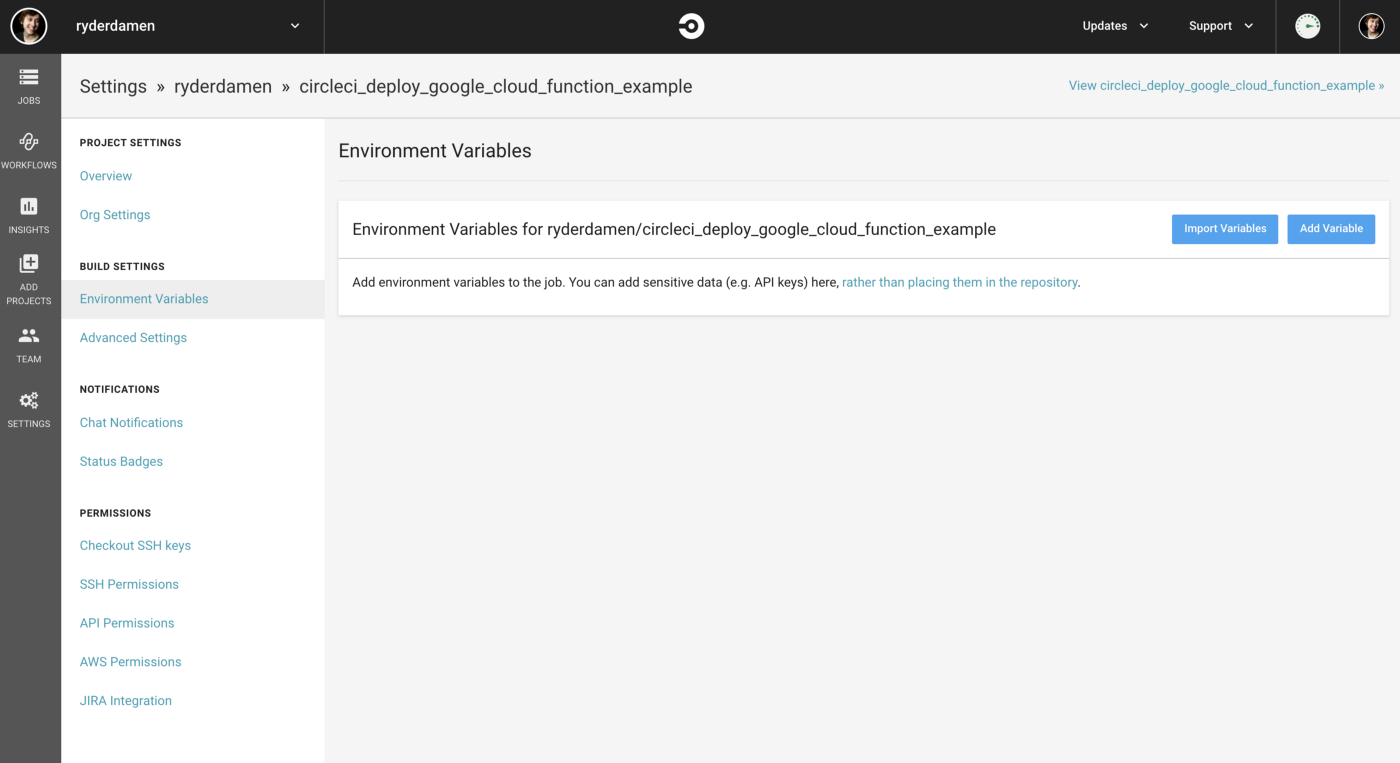
Set Environment Variables
Remember that service_key.json file we downloaded? We now need to store it as a project environment variable in CircleCI so it can be injected into the container when it’s time to deploy.
Since however Circle can be a little picky about the characters it allows in the UI, we will first base64 encode it.
cat the_service_account_file.json | base64
Running this command (using the correct name of your file), will output a long base64 string.
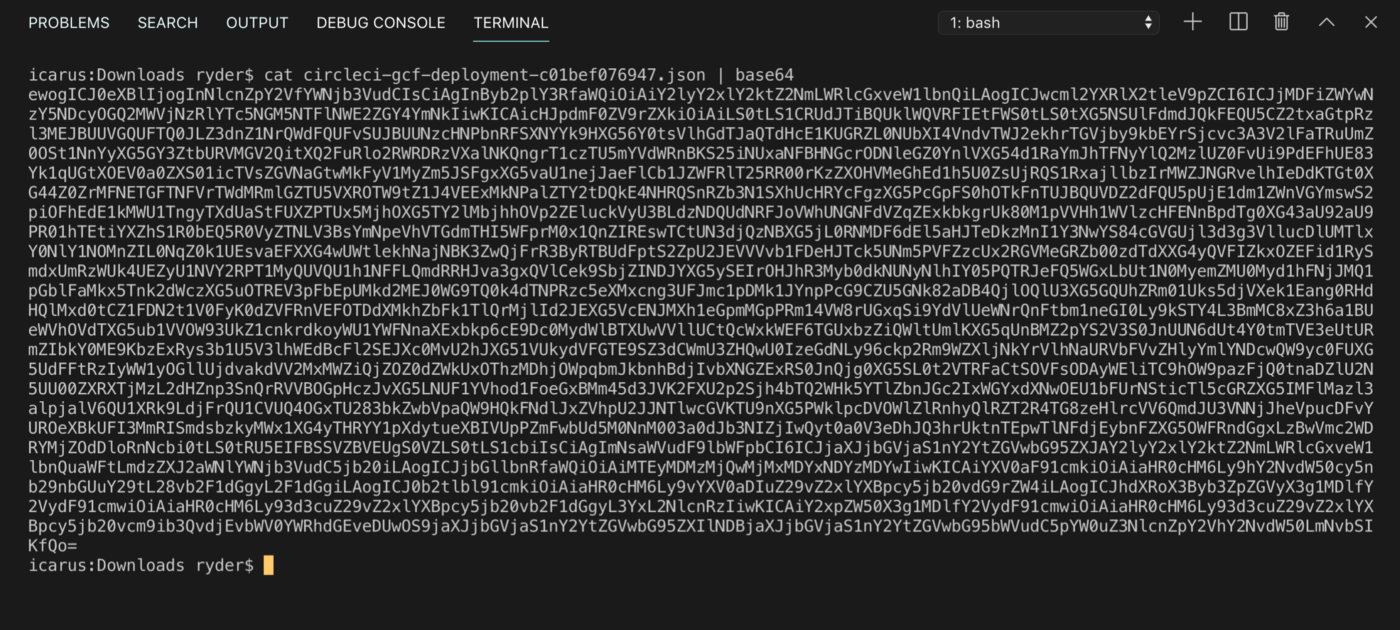
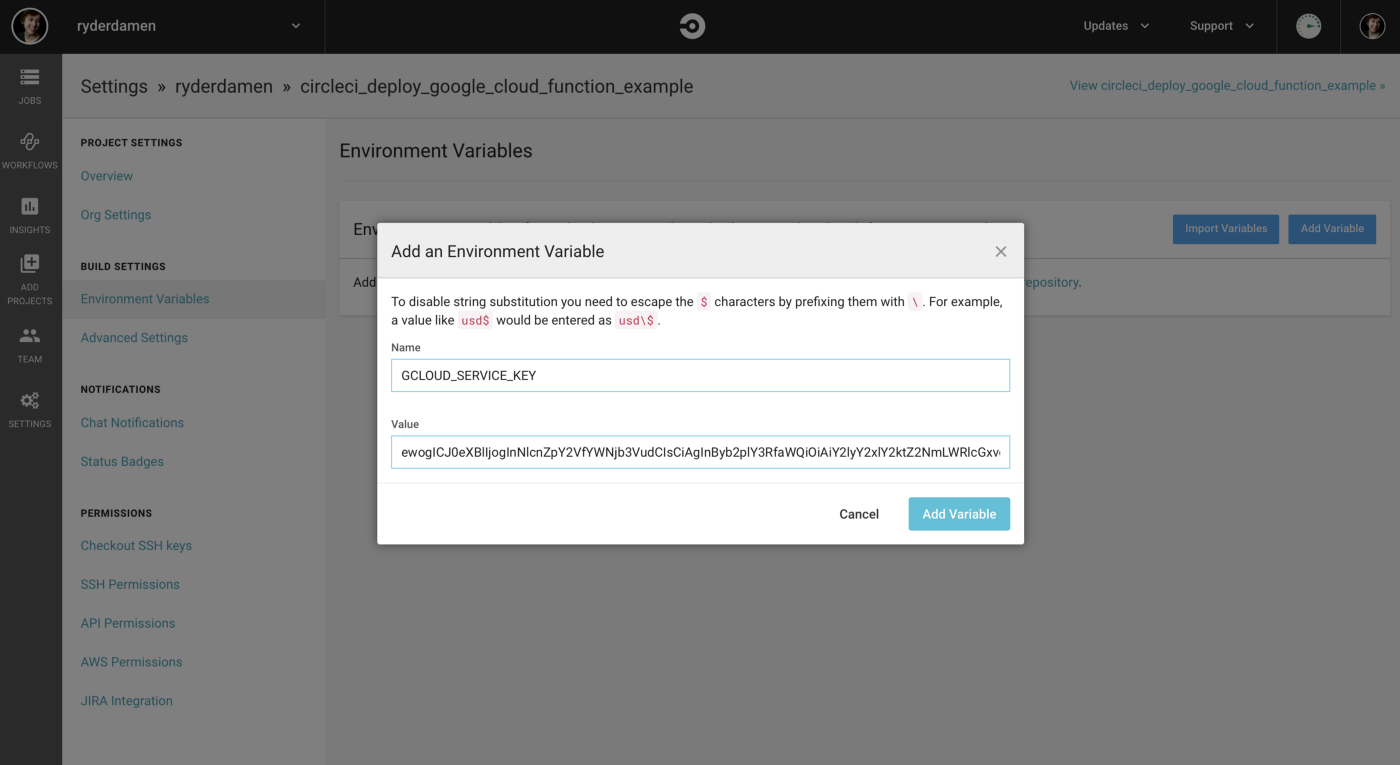
Copy the entire thing, and paste it into the value box CircleCI project settings environment variable screen with GCLOUD_SERVICE_KEY as the key.
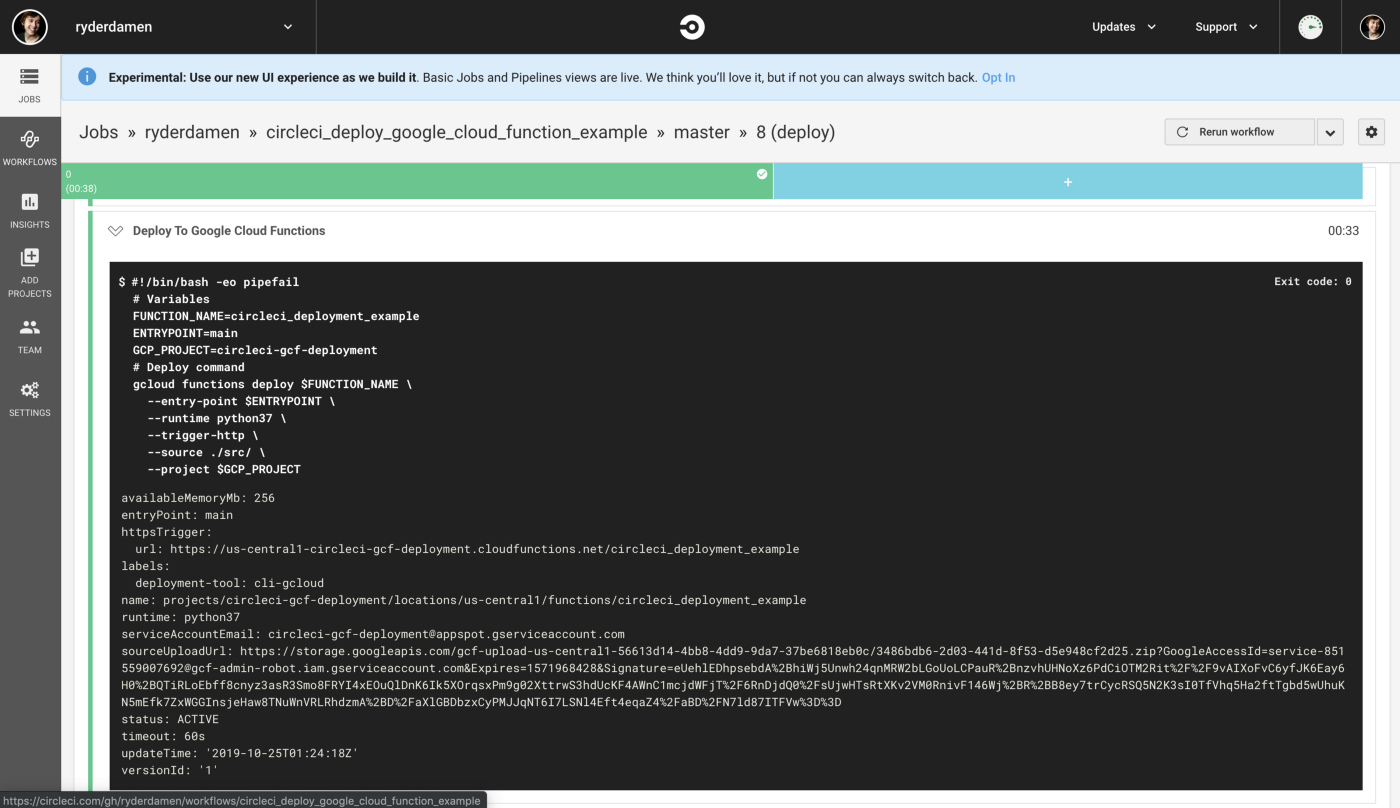
Deployment
With our current CircleCI configuration, any time a change (or merge) is made to master, a new version of our cloud function will be deployed automatically.
We can now commit our code changes (the .circleci/config.yml file) and push or merge to master. If all’s configured correctly, our changes will deploy to Google Cloud Functions automatically.
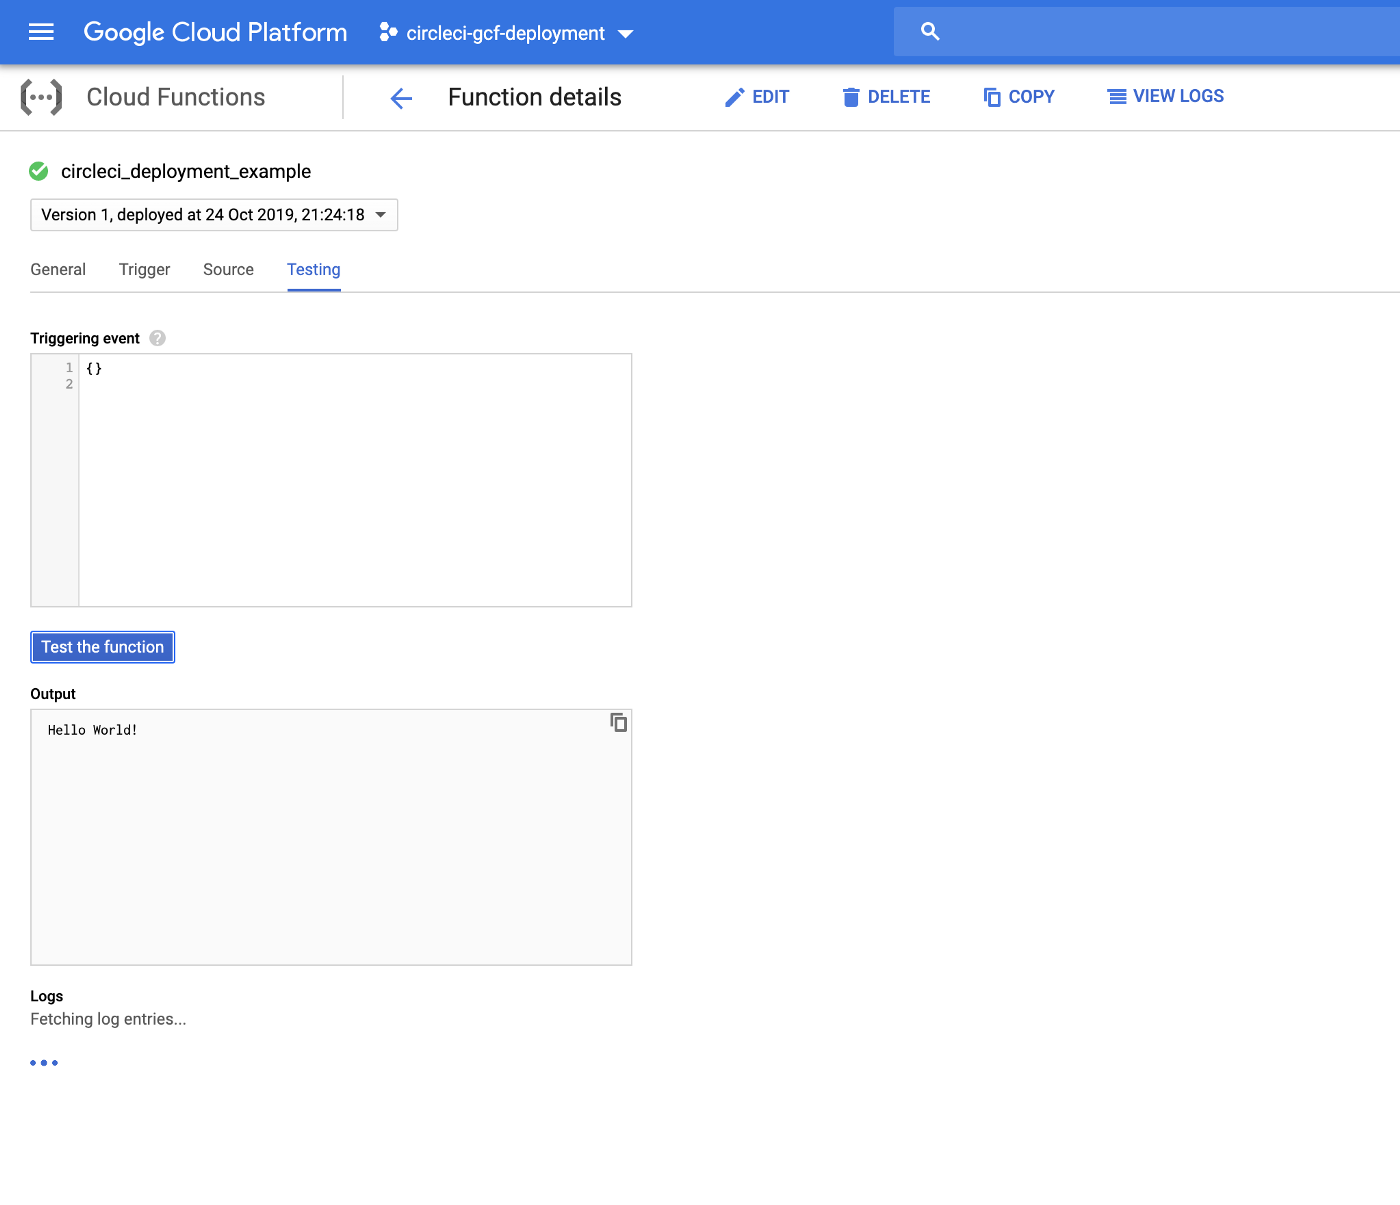
You can test your deployed function by clicking it, and navigating to the “test” tab. It will also have all the necessary information for calling the script, viewing the logs, and anything else you may need.
Let's Work Together
I solve problems with DevOps, Developer Relations, IoT, and Artificial Intelligence.